
Reducing the file size of images can be very useful to save disk space or reduce bandwidth use. With Python, you can compress dozens or hundreds of images in a quick and efficient way.
What you will learn
After reading this post, you will know:
- How to install the Python Image Library (Pillow)
- How to change the resolution of an image using Pillow
- How to reduce the size of JPEG and PNG images through different ways using Python and Pillow
- How to bulk compress all the images in a directory using Python
How to reduce the size of an image
Digital images are composed of multiple individual pixels. The process of reducing the size of an image is known as image compression.
There are two ways to compress an image:
- Removing information from the image (Lossy compression)
- Grouping common patterns together (lossless compression)
JPEG and PNG are popular lossy and lossless compression formats, respectively.
If you are interested in learning more about image compression, you can read What is image compression? from keycdn.com
You can apply lossy and lossless compression to image files with Python using the Pillow Library.
Installing Pillow
Pillow is a fork of the original Python Image Library (PIL) that was developed after PIL stopped being updated in 2009. Pillow adds support for Python 3 and receives constant updates.
Pillow brings image manipulation to Python, and you can install it running the following command in your console:
pip install Pillow
You can make sure that Pillow has been successfully installed by opening a Python interpreter and typing
import PIL
If no message appears, the module has been successfully added to your system.
Change the resolution of an image using Pillow
Lowering the resolution of an image in many cases will result in an image with a smaller file size.
Resizing an image to a lower resolution can be done very easily like this:
from PIL import Image

img = Image.open("image.jpg")
new_size = (800, 600)
img = img.resize(new_size)
img.save("new_image.jpg", format="JPEG")
What this code does is:
- Import the Image module from Pillow
- Open
image.jpgand store it in the variableimg - Define the new size of the image. This value has to be an iterable object, like a tuple or a list.
- Resize the image and update
imgwith the output of the method. - Save the new image as a JPEG file in a new location. If you wish to overwrite the original image, you can save the new image in the same location as the original.
Alternately, you may use the Image.thumbnail method if you wish to keep the aspect ratio by default:
from PIL import Image

img = Image.open("image.jpg")
new_size = (800, 600)
img.thumbnail(new_size)
img.save("new_image.jpg", format="JPEG")
Image.thumbnail is very similar to Image.resize but with some important differences:
Image.thumbnailresizes the image to the largest size that preserves aspect ratio.- The output image size will not exceed the original image.
- The output image size will not exceed the size specified in the arguments of the function.
- The
Imageobject is modified in place.Image.thumbnailchanges the original image and returnsNoneas a result.
Optimize images
Saving an image with the optimize flag is the easiest way to reduce the size of an image with Python and Pillow without losing quality.
from PIL import Image

img = Image.open("image.jpg")-
img.save("new_image.jpg", format="JPEG", optimize=True)
When the optimize flag is present and True, Pillow will perform an additional pass on the image to select optimal encoder settings. This can have an important impact in the size of the image, for example, consider the following image:
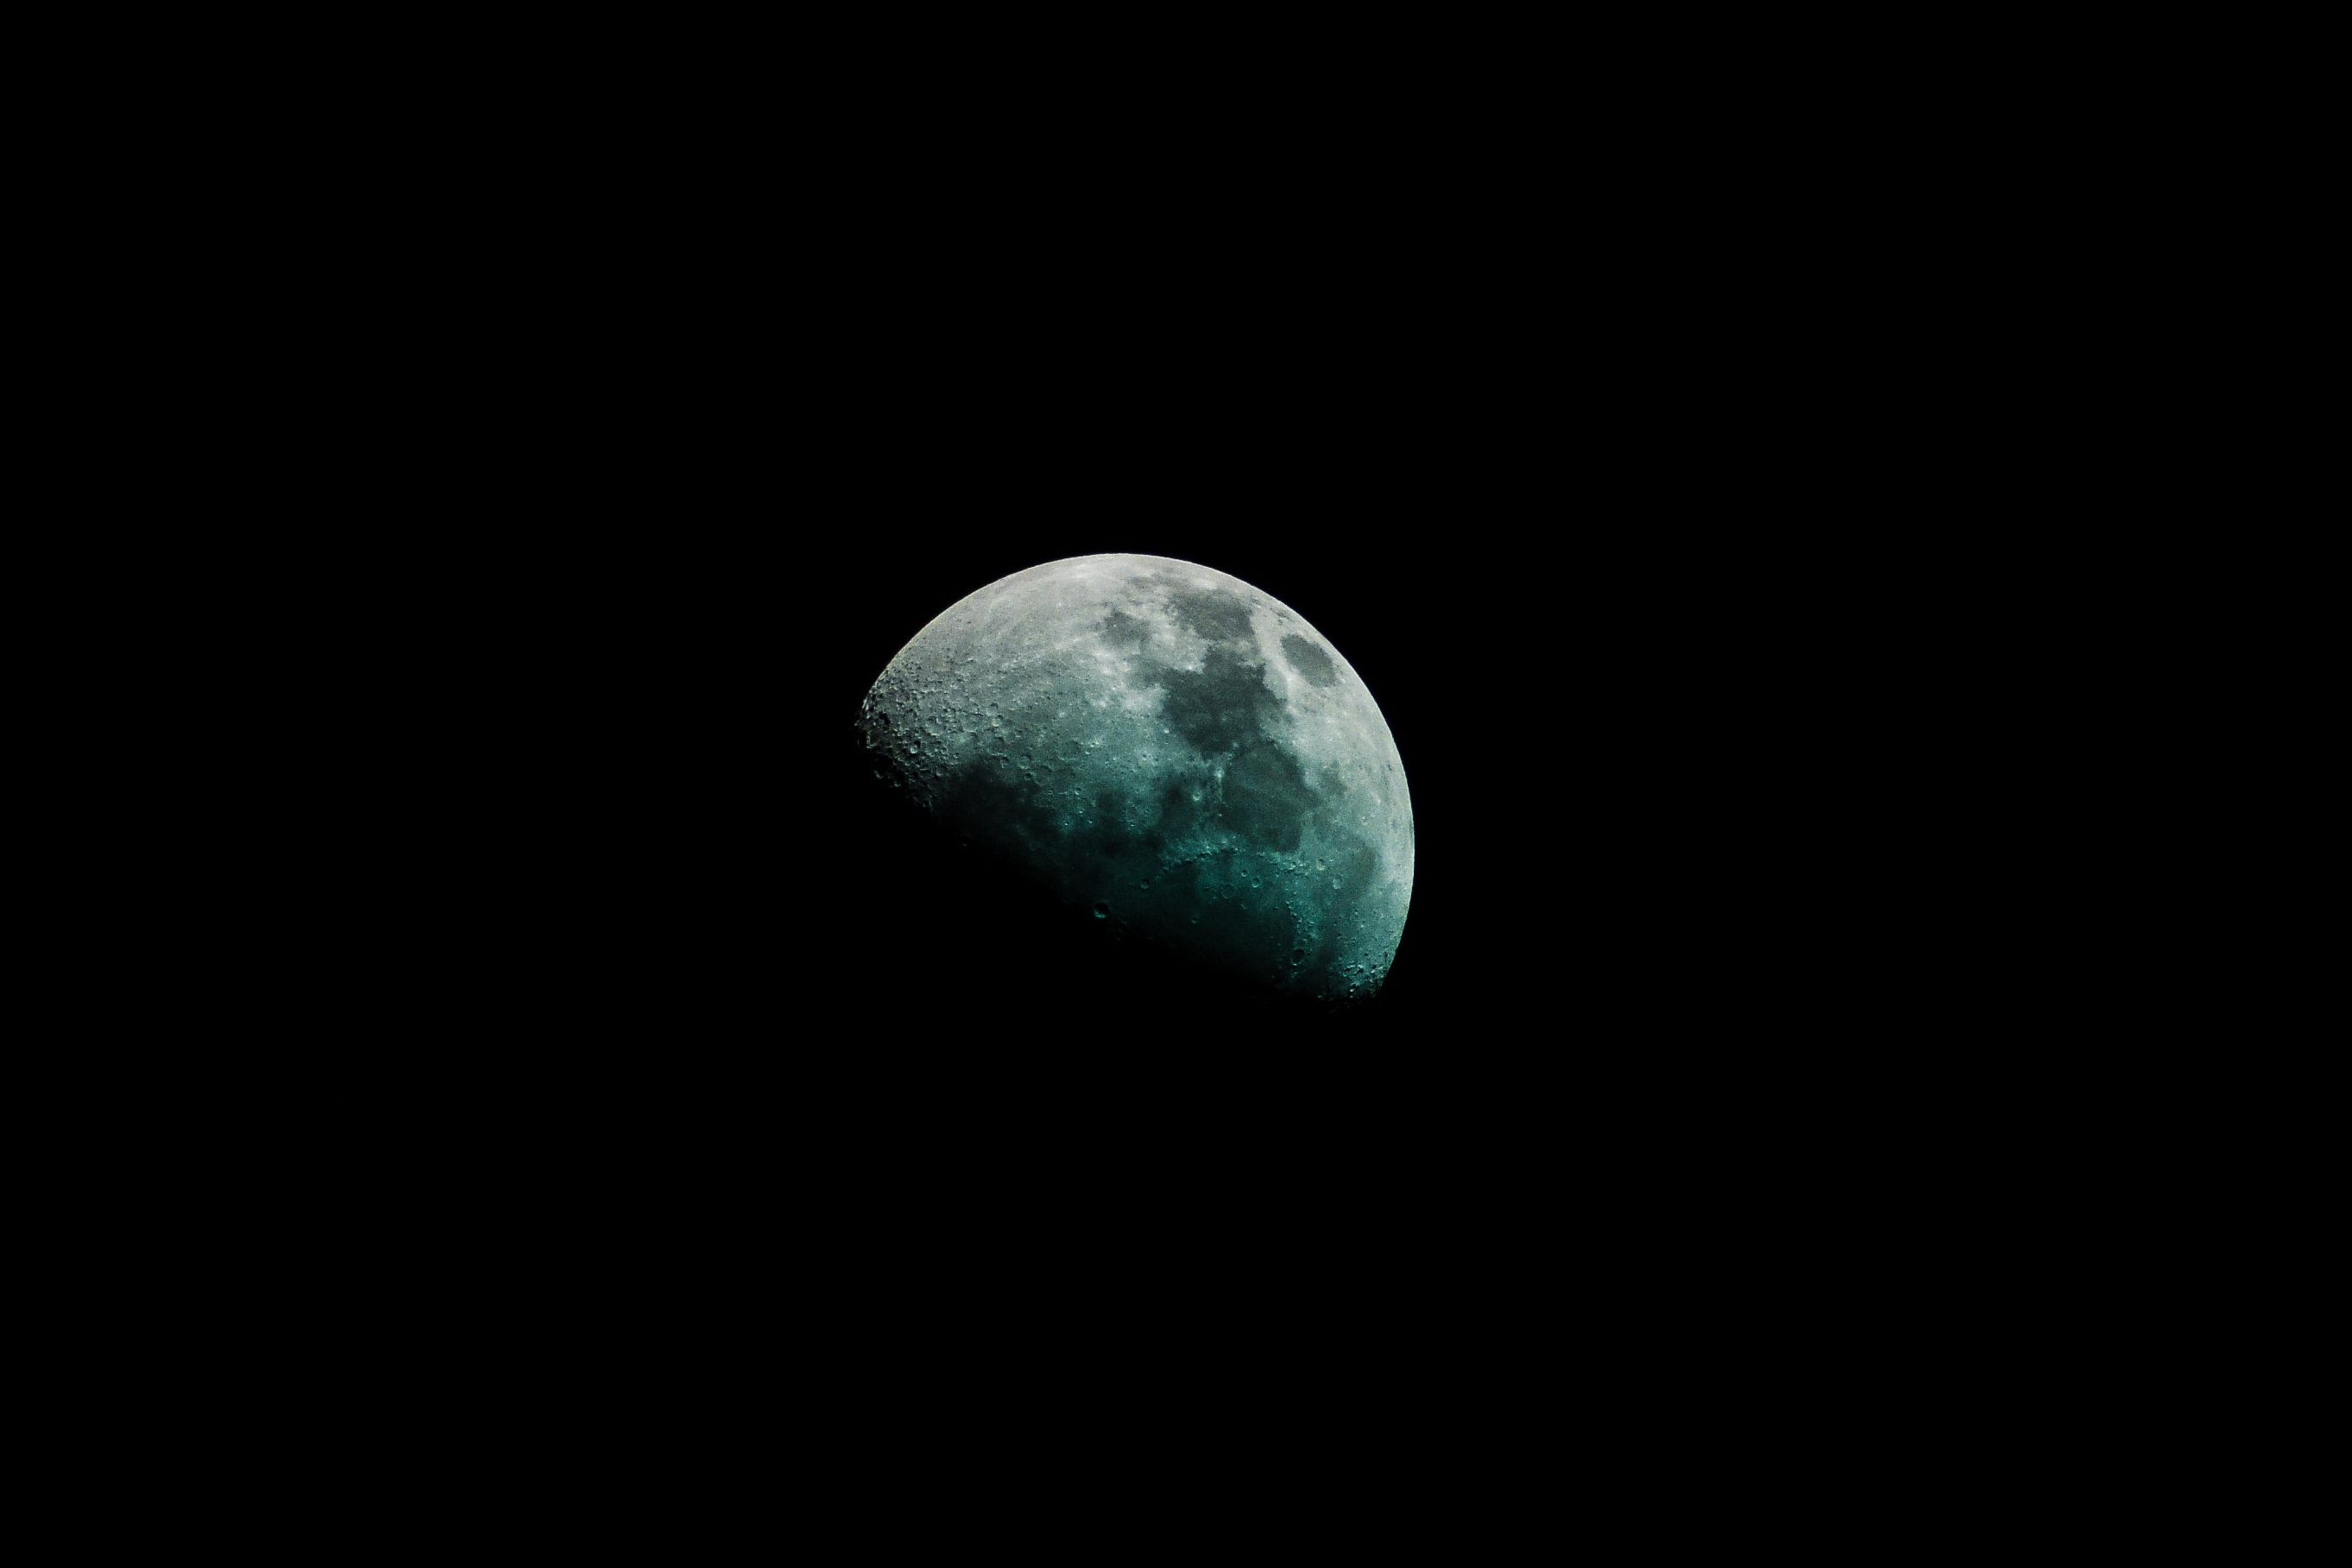
After saving the image with optimize=True the image size was reduced in 91 KB, or 45 % of the original size. In the following table you can see a direct comparison between the original image, that image saved using the default Image.save parameters, and that image saved with the optimize flag set to True.
| Original image | Default parameters | optimize=True |
|---|---|---|
|
 |
 |
| 166 KB | 115 KB | 75 KB |
Consider using the optimize flag when compressing a large amount of files. The size reduction will not always be this dramatic, but the amount of storage can add up if you are dealing with hundreds of images.
You can use the optimize option when saving JPEG, PNG and GIF images.
Reducing the file size of a JPEG image
Reducing the quality of an image
JPEG files can be saved with different amounts of compression. This is defined by the quality level of the image. An image saved at 100% quality will have virtually no compression, while an image saved at 35% quality will be noticeably affected by the algorithm.
Below you can see how to define the quality of a JPEG image when saving it with Pillow:
from PIL import Image

img = Image.open("image.jpg")
img.save("new_image.jpg", format="JPEG", quality=85)
The quality parameter only works with JPEG images, and its value must be an integer. When the quality is not specified, the default value of 75 is used by Python instead.
Lowering the quality of an image is one of the most effective ways to reduce its size, as you can see in the following table.
| 95% Quality | 75% Quality | 35% Quality |
|---|---|---|
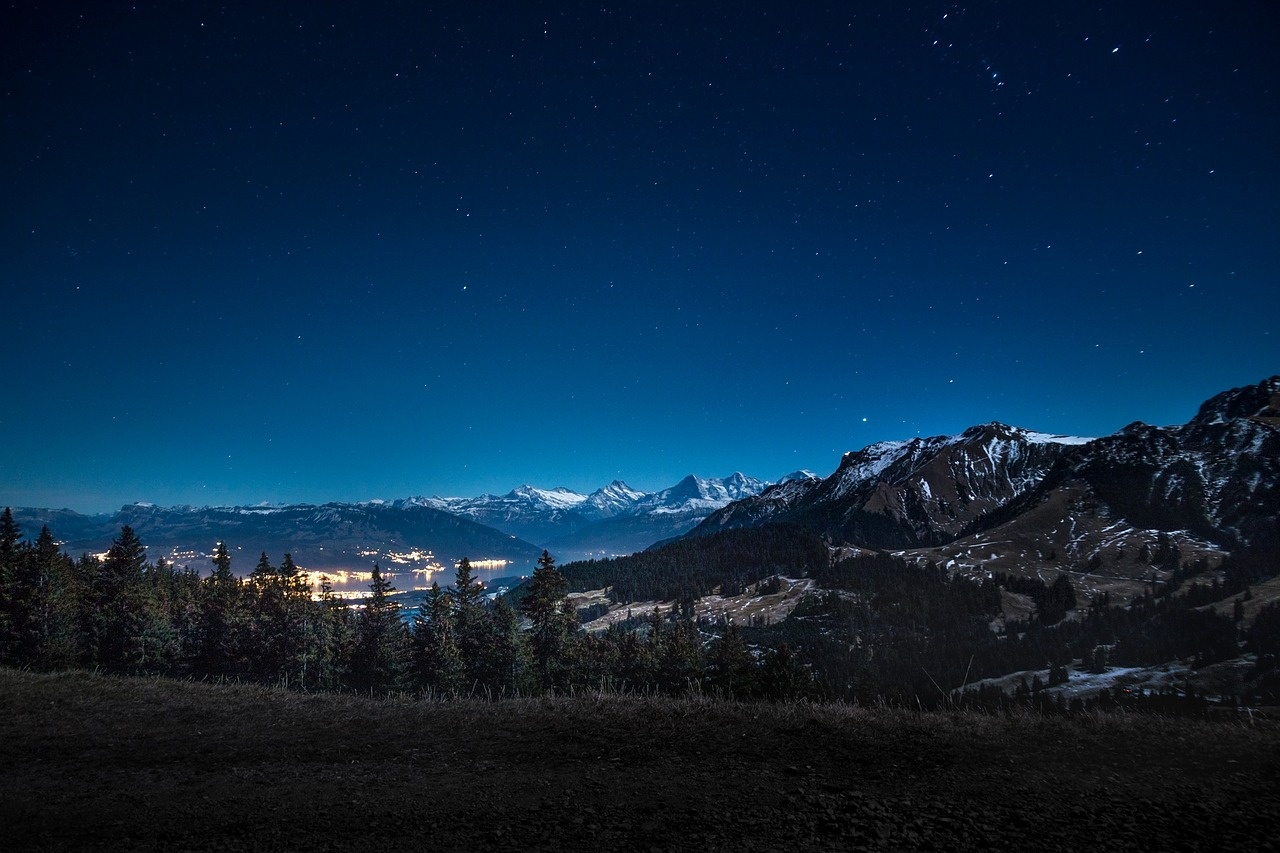 |
 |
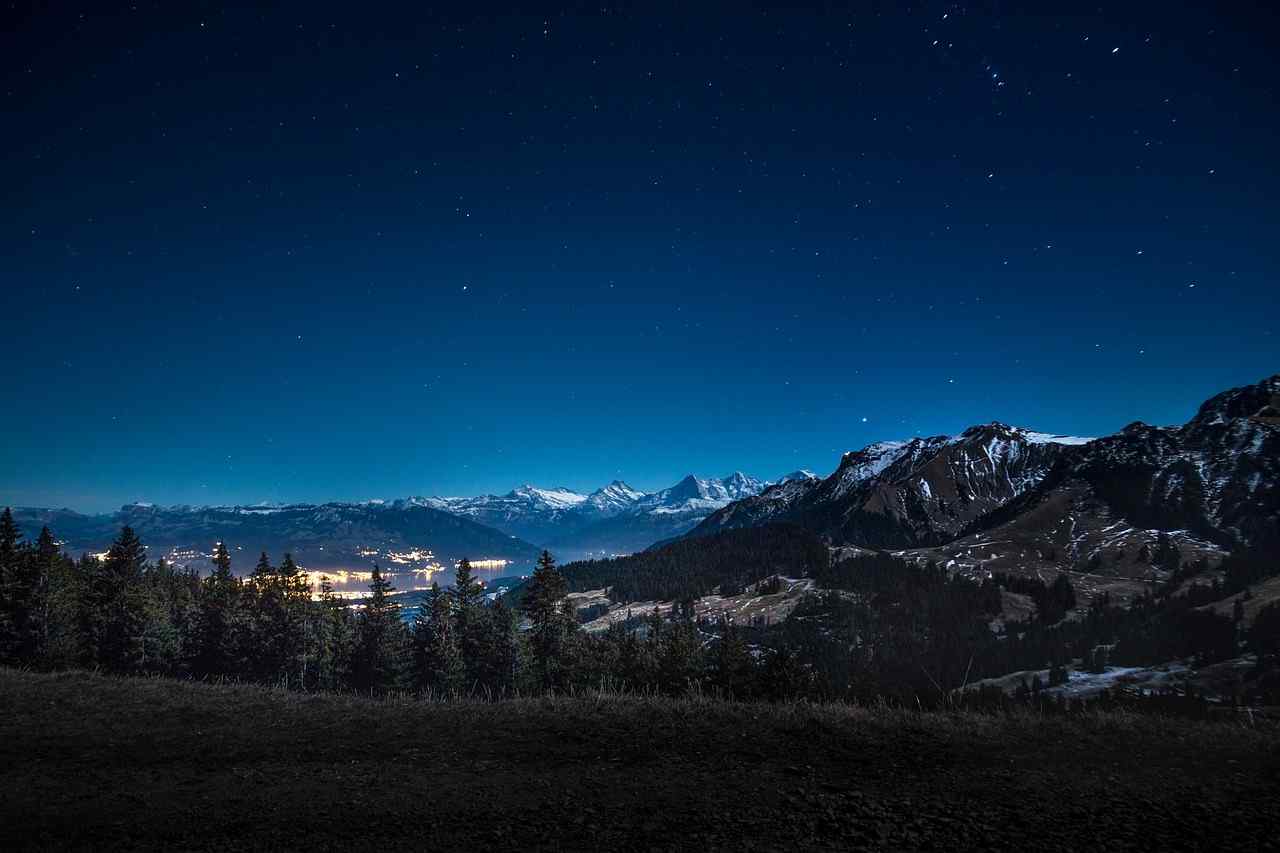 |
| 299 KB | 113 KB | 56.7 KB |
You can see how different values affect the quality of an image in this tutorial from FotoForensics.
Reducing the file size of a PNG image
Reducing the color palette
In Pillow, the mode of an image defines the type and depth of each pixel in the image. For example, a image with a mode of 1 will have pixels with a depth of 1-bit, allowing only two colors (black and white).
Other common color modes are:
L(8-bit pixels, black and white)P(8-bit pixels, mapped to any other mode using a color palette)RGB(3×8-bit pixels, true color)RGBA(4×8-bit pixels, true color with transparency mask)
Choosing the right mode for your image has an important role in reducing its size.
Read more about color modes in the Pillow documentation.
You can reduce the amount of colors in a PNG image using Pillow through an operation called quantize. This operation will change the mode of the image to P.
from PIL import Image

img = Image.open("image.png")
img = img.quantize(colors=128)
img.save("new_image.png")
The quantize method will return a new image with the specified amount of colors as upper bound. For example, the following image only has 16 colors despite calling img.quantize(colors=128).

In [1]: from PIL import Image

In [2]: img = Image.open("image.png")

In [3]: img = img.quantize(colors=128)

In [4]: len(img.palette.colors)
Out[4]: 16
After calling Image.quantize the size of the image is reduced considerably, specially when the optimize flag is present. Look at the comparison in the following table:
| Original Image | After Image.quantize |
After optimize=True |
|---|---|---|
|
 |
 |
| 29 KB | 9 KB | 7 KB |
How to compress all the images in a directory
When you have a directory full of images, Pillow makes it simple to reduce their size, as you can see in the following script:
from PIL import Image
from pathlib import Path

directory = Path("Images/")
file_list = directory.iterdir()
max_size = (1280, 720)

for file in file_list:
    img = Image.open(file)
    file_name = file.stem + "_compressed" + file.suffix

    img.thumbnail(max_size)
    if img.format == "JPEG":
        img.save(file.with_name(file_name), quality=85, optimize=True)
    elif img.format == "PNG":
        img = img.quantize(colors=256)
        img.save(file.with_name(file_name), optimize=True)
Step by step, this script:
- Imports the Pillow and pathlib modules.
- Stores the directory where the images are located in
directory. - Defines a max size for each image.
- For each image:
- Open as an
Imageobject. - Define a new file name with
_compressedappended at the end. - Resize to
max_sizeif the image is larger thanmax_size. - Save with the new file name and 85% quality (if JPG) or 256 colors at most (if PNG).
- Open as an
Pillow provides a simple way to perform complex operations on your images using Python. Learn more about what you can do with this module by reading the official documentation